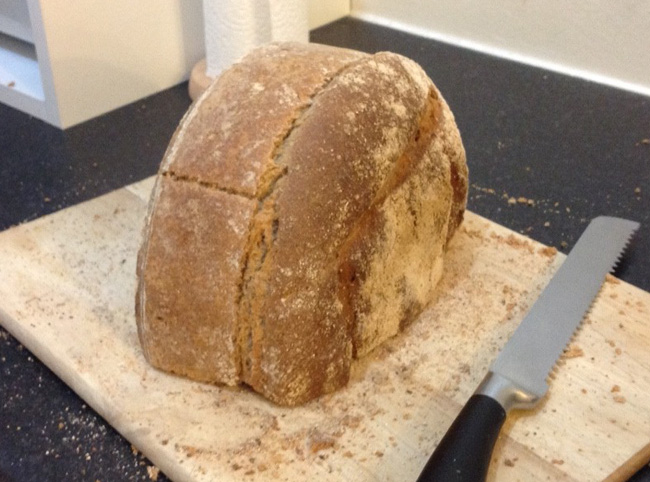
When I say ‘my’ sourdough, I mean this is patched together from The Skint Foodie and BBC Good Food. The bad bread pic is 100% mine, though.
Don’t be put off by the fact this takes a total of 6 hours to rise. There is a schedule-friendly alternative, which is putting the dough in the fridge overnight in place of the second rise. This means you can, say, start it off on a Saturday evening ready to bake on the Sunday morning.
Ingredients:
50g dormant starter, or 350g active starter
500g strong white bread flour (plus extra for feeding starter if you’re starting with a dormant one)
1dsp salt
1dsp sugar
250-300ml hand-hot water
Other things you’ll need:
a proving basket OR a colander and a tea towel
a bread stone is helpful
so is a dough scraper
Let’s begin
1. Skip to step 3 if you’re starting with the active starter. Otherwise, 24 hours before you want to start, take your starter out of the fridge. Feed it with its own weight of flour and water. So your 50g of starter will need 50g flour and 50ml water.
2. 12 hours before baking, feed it 100g flour, 100ml water.
3. When you’re ready to start, save 50g of the starter in the fridge. Mix the remaining 300g starter with the 500g flour, the salt, the sugar and 250ml of the water together in a large bowl.
4. Add some more water if you need it, which you probably will. You’re going for a consistency which is a little sticky, but not leaving chunks on your fingers. If it’s difficult to make it come together or knead, then it’s too dry.
5. Knead on a surface until the dough is smooth and elastic. A good test is window-paning: can you stretch a small piece of dough until it lets light through? Then it’s ready. This should take you 10 mins, a bit longer if you’re not used to kneading.
6. Cover the dough in plastic and leave to rise until doubled in size. This will take 2.5-3 hours at room temperature. Don’t rush it by putting it somewhere overly hot.
7. Knead the dough briefly. You want to get rid of the oversized air-bubbles, but not knock out the smaller ones.
8. Shape into a ball and place in a well-floured proving basket, seam-side up. You can use a colander lined with a floured tea-towel if you don’t have a proving basket, but flour it very thoroughly. I actually use floured clingflim as well, because it’s easier to peel off.
9. Cover the dough and leave again until doubled in size, about 2-3 hours again. If you prefer, you can put it in the fridge overnight instead. This is generally more schedule-friendly and will make your bread taste sourer. You may need to prove it for a little longer after it comes out. ‘Watch the dough, not the clock,’ as the saying goes.
10. Put an oven-proof dish of boiling water in the bottom of your oven, and pre-heat to 220 degrees C. Turn the dough out of the proofing basket onto a baking tray lined with a sheet of baking parchment.
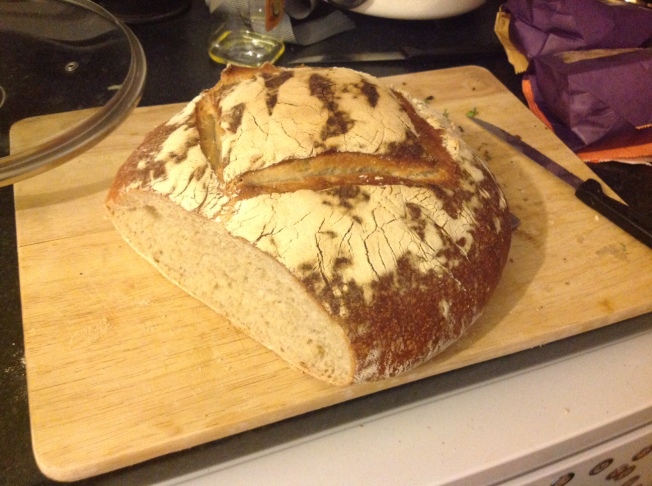
11. Cut some slashes in the top of the dough and bake for 25-30 minutes, or until the bread sounds hollow when tapped underneath.
Tip: I make up for lacking a bread stone by baking it on a very thick baking tray that burns everything else I use it for. But it’s perfect for bread.